I have changed the oil on every vehicle I have owned since 1979, and I can tell you the exact moment most driveway oil changes go sideways. It is not the oil, and it is not the filter. It is the bolt. The drain plug sits low on the pan, covered in road grime, and the socket you reach for is either the wrong size or the bolt is already rounded from the last time someone forced it. That is where a good mechanics set earns its keep. The DEWALT 108-Piece Mechanics Tool Set has lived behind the seat of my 2011 F-150 for about four years, and it has done every oil change since.
A shop will charge you an hour of labor for this job, and the job itself takes me about 45 minutes in my own garage, most of it waiting for the oil to drain. You do not need a lift, and you do not need a full bay. You need a safe way to get the truck up, the right oil and filter, and a socket set that has the size you need without a second trip to the parts store. That last part is where the DEWALT set comes in. It is not the biggest set on the shelf, and it is not the most complete. It is the one I reach for because it is always there.
The set that has done every oil change on my F-150 for four years
The DEWALT 108-piece mechanics set covers 1/4-inch and 3/8-inch drive, with 6-point SAE and metric sockets in one flat case. It lives behind the seat of my truck, and it is the first thing I grab for bolt work in the garage.
Amazon Check Today's Price on Amazon →Step 1: Get the truck up on solid ground
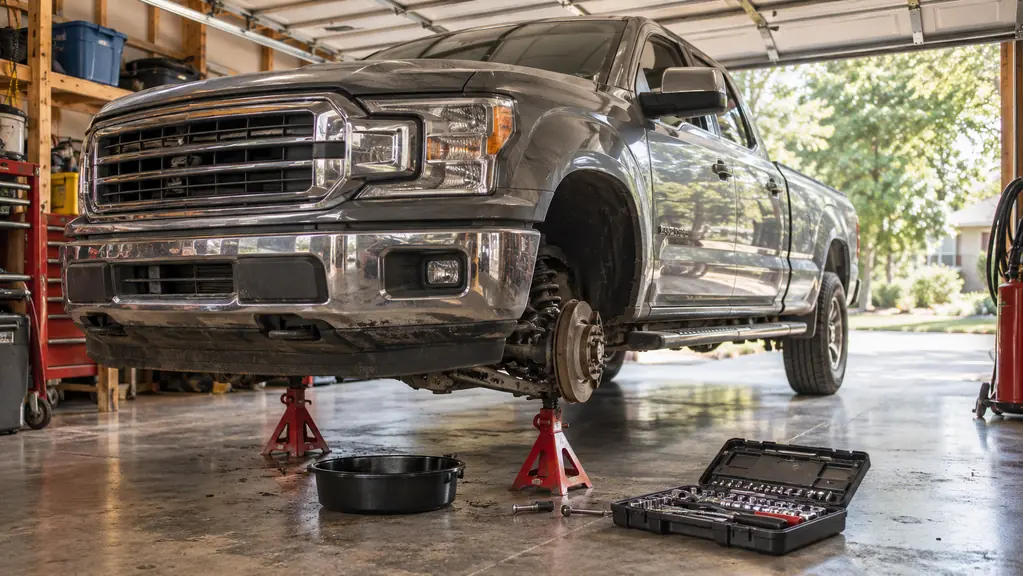
The first rule of a driveway oil change is that the truck has to be level and it has to be safe. I use my ARCAN 3-ton aluminum low-profile floor jack to lift the front of the F-150. It has a 3.75-inch minimum height, so it slides under the frame without me having to drive the truck up on a board first, and it lifts to 18 inches, which is plenty of room to work under. I roll the truck out onto the apron when the weather is good, because the light out there is better than the single shop light over my bench.
I set the jack under the front crossmember, pump it until the front wheels are off the concrete, and then I do the part that matters: I put a pair of jack stands under the frame rails and lower the truck onto them. The jack only lifts. The stands hold. I have been doing my own car work for the better part of 40 years, and I still do not get under a vehicle on a jack alone. That is not a tool review opinion. That is a habit that keeps you alive.
Why does this matter for a review of a socket set? Because the drain plug is a bolt like any other, and the socket you use on it is only as good as the position you can get into. With the truck on stands, you can reach the plug with both hands, which means you can keep the socket square on the head. A socket that goes on crooked is how bolts get rounded, and a rounded drain plug turns a 45-minute job into an afternoon with a chisel.
Step 2: Lay out the tools and the parts before you start
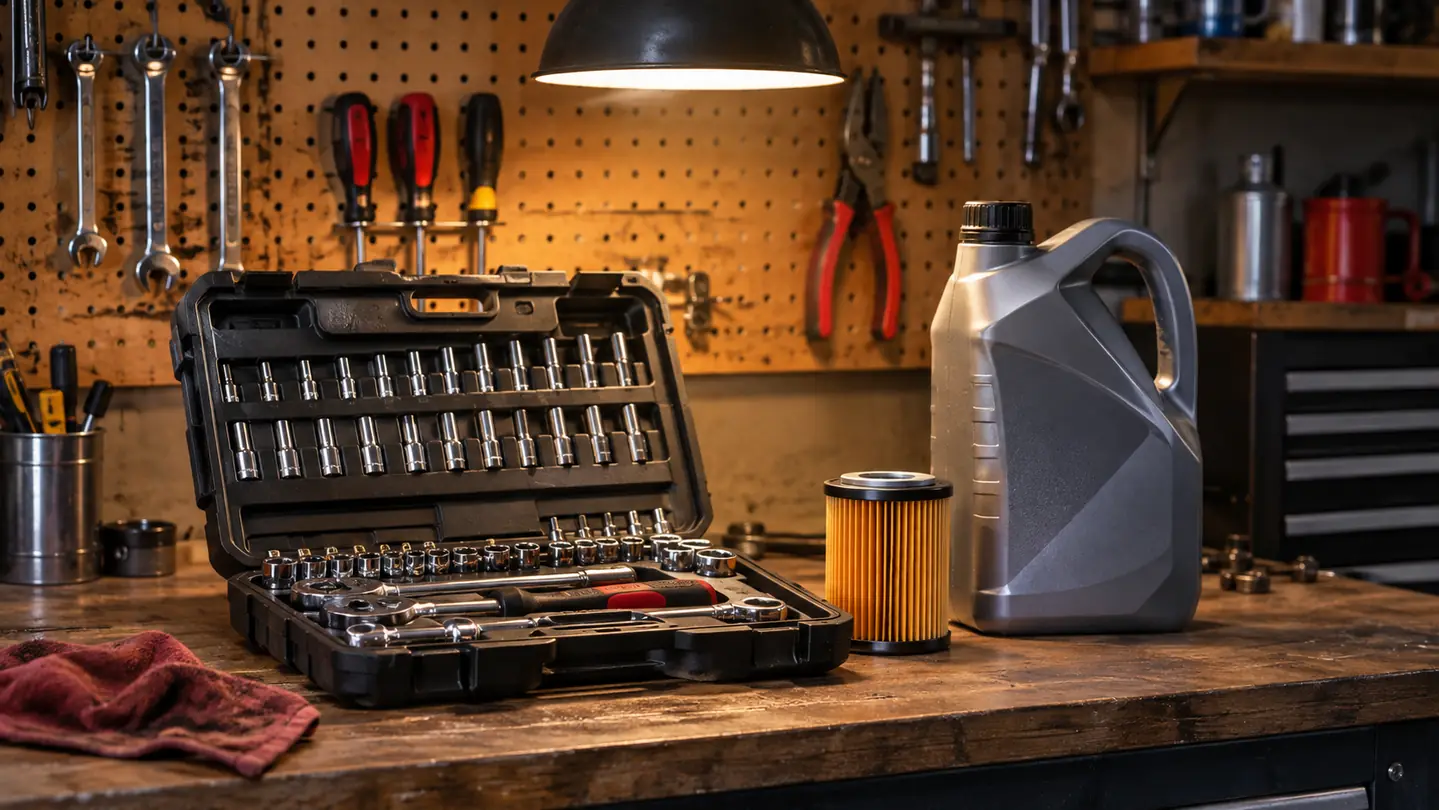
Before I crawl under the truck, I lay everything out on the concrete next to the drain pan. The DEWALT case keeps the sockets sorted by size, and at 15.75 by 11.61 inches it does not take up much room. For an oil change I need the oil, a new filter, a filter wrench, the drain pan, and the socket that fits the plug. I put the socket I plan to use on top of the case, so I am not digging for it once I am underneath.
Here is where the set's mix matters. The set is listed as SAE, but the case also holds metric sockets, starting at 4mm. My F-150 is a 2011, and its drain plug is a metric hex head. I do not have to guess which system it is, because both are in the same case. The set also carries hex-shank bits that fit a screwdriver handle or a wrench. You will not need those for an oil change, but they are there when you do. That sounds like a small thing until you are on your back with oil on your hands and the wrong socket in your fist.
The other thing I lay out is the filter wrench. The DEWALT set is for bolts, not filters. A spin-on filter needs a cap or strap wrench that grabs the outside of the can, and that tool lives in my tool chest, not in the DEWALT case. If your truck uses a cartridge filter, you will need the socket or cap for that housing instead. Grab whichever one you need before you start, because the filter is not coming off by hand after 5,000 miles.
Step 3: Drain the old oil
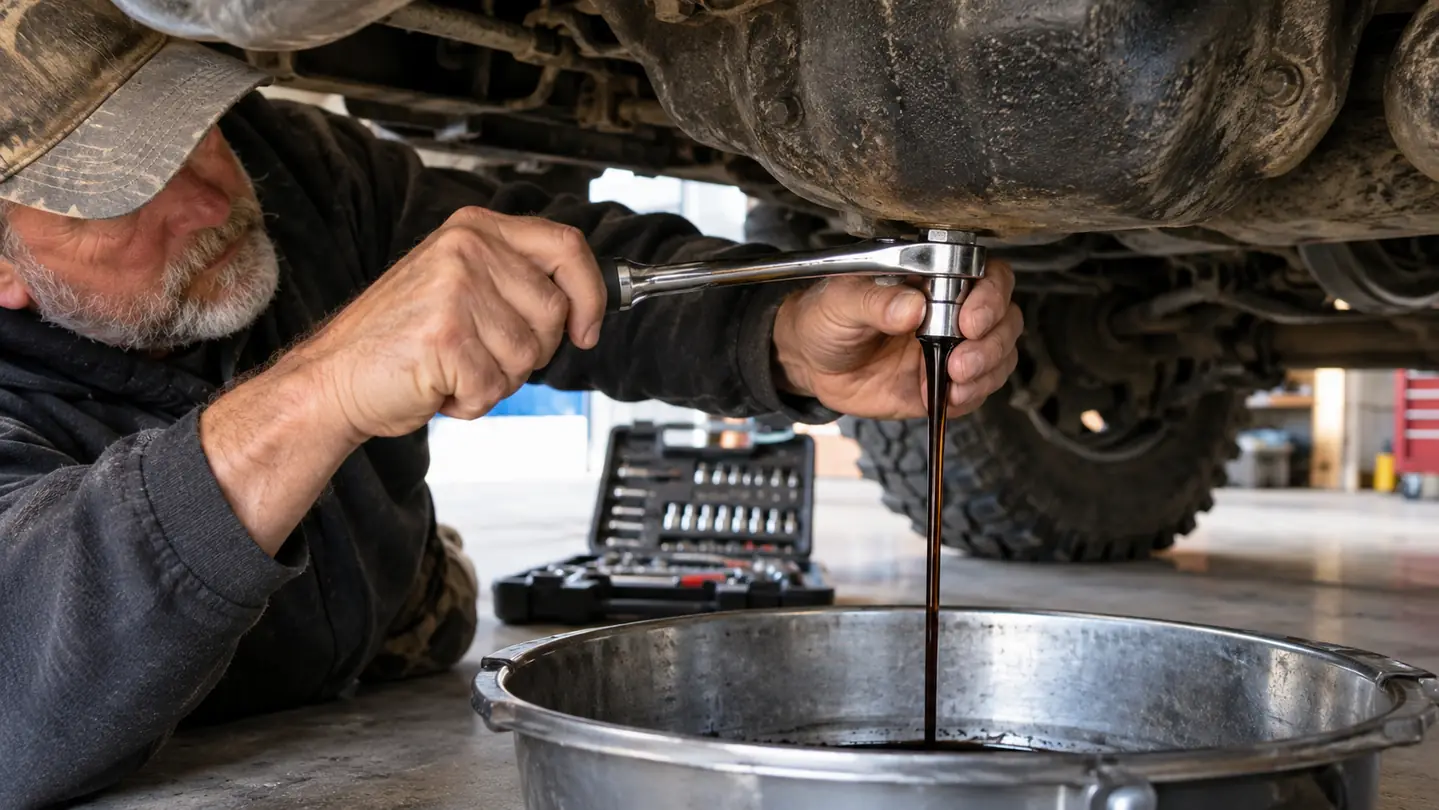
With the truck on stands, I slide the drain pan under the plug and reach up with the 3/8-inch ratchet from the DEWALT set and the socket that fits. The plug is a hex head, so a 6-point socket is the right tool for it. A 6-point socket grabs the corners of the bolt instead of the points, which means it is far less likely to slip on a plug that has been on and off for a decade. The 3/8-inch drive is the right size for that space; a 1/2-inch drive would be overkill and a 1/4-inch would not have the leverage.
I break the plug loose with the ratchet, then turn it out by hand the last couple of threads. The plug is not a lug nut. It does not need to be reefed on. Once it is loose, I set it on the concrete where it cannot roll and let the oil drain. This is the waiting part of the job, and it is the part where you look at what came out. If the oil is dark but still feels like oil, that is normal. If it looks like thin chocolate milk, that is coolant, and no socket set in the world fixes that.
While the oil drains, I check the drain plug itself. A plug that has been rounded by a previous owner or a careless shop is the one part of this job that turns a quick oil change into a Saturday project. If the hex head is sharp and clean, the 6-point socket will seat fully and you are done. If it is rounded, stop and replace the plug before you put it back in. That part is cheap, and it is a lot cheaper than a new oil pan.
Step 4: Replace the filter and torque the plug
When the oil has slowed to a drip, I move the pan under the filter. The filter sits low on the block, and on most trucks it is easier to reach from below than from above. I use the filter wrench to break it loose, then spin it off by hand and let it drain into the pan. Before the new filter goes on, I wipe the mounting surface clean and put a thin coat of fresh oil on the gasket with my finger. That is not optional. A dry gasket will grab and wrinkle, and a wrinkled gasket leaks.
Now the plug goes back in. I start it by hand, which is the only way to be sure the threads are lined up, and snug it with the 3/8-inch ratchet. Then I finish with the torque wrench. My GEARWRENCH 1/2-inch electronic torque wrench warns me with a buzz before I hit the number, and I use a 3/8-to-1/2 adapter so it drives the same DEWALT socket that took the plug out. The torque spec for the F-150 is in the owner's manual, and I set the wrench to it. If you do not have a torque wrench, snug is the word. A drain plug does not need to be brutalized.
This is where the DEWALT set earns its keep in a way that does not show up in the specs. The 6-point sockets grab the full flat of the bolt head, and on a plug that has been through a few winters, that grip is the whole ballgame. I have used this set on brake caliper brackets, suspension bolts, and the drain plugs on both of our vehicles, and I cannot remember the last time a socket slipped.
Step 5: Refill, check for leaks, and put the tools away
With the plug torqued and the new filter on, I lower the truck off the stands and add the oil. I pour in what the owner's manual calls for, less a little, then check the dipstick and top it off. The dipstick is the authority, not the bottle. Then I start the engine and let it run for a minute. The point is not to warm the oil. The point is to pressurize the filter and show you any leak while the truck is still over the drain pan.
While the engine runs, I get down and look at the plug and the filter from underneath. A drip at the filter usually means the gasket did not seat. A drip at the plug means it was not torqued, or the washer is worn. Either one is easier to fix now, with the pan still underneath, than it is next week when the driveway has a stain.
Then I shut it off, wait a couple of minutes for the oil to settle, and check the level one more time. The last step is the one most people skip: I wipe the sockets down, close the DEWALT case, and put it back behind the seat of the truck. A socket set that lives in the truck only helps if the sockets are actually in the case. The case keeps them sorted, and I would rather spend two minutes putting tools away than twenty minutes hunting for the right socket in the dark.
What Else Helps
An oil change does not take a full mechanics set. It takes a jack, two stands, a drain pan, a filter wrench, the right oil and filter, and one socket that fits the plug. The reason I keep coming back to the DEWALT set is that it removes the variable. I do not have to remember which drawer the 3/8-inch ratchet is in, or whether the metric sockets are in the other box. Everything is in one case, and the case lives in the truck.
The honest limits: the set is 1/4-inch and 3/8-inch drive, so it is not the tool for axle nuts or anything that needs a 1/2-inch breaker bar. For an oil change, a brake job, or most bolt work on a car or light truck, it is enough. The case is 15.75 inches long, which is why it fits behind the seat instead of taking up half the bed. If you need a 1/2-inch drive set for heavier work, that is a separate purchase, and I would not pretend otherwise.
The other thing that helps is knowing where the old oil goes. I pour the drained oil back into the empty jugs and take them to the auto parts store. That is not a tool tip. It is the part of the job that keeps the driveway from becoming the neighborhood's problem.
Four years behind the seat of my F-150, and that case has done every oil change since. A tool you can put your hand on beats a better tool you cannot find.
If you change your own oil, this is the set to keep in the truck
The DEWALT 108-piece mechanics set covers the 1/4-inch and 3/8-inch drive work that most driveway jobs actually need, with 6-point SAE and metric sockets in one flat case. It has done four years of oil changes and brake work in my garage. See today's price on Amazon and decide for yourself.
Amazon Check Today's Price on Amazon →