
Somewhere around the third time I watched a kid at a tire shop lean on a cross wrench with his full body weight, I decided I was done letting other people touch my lug nuts. I am Earl Dobbins. I spent 30 years turning wrenches on loaders and graders for a county road department, and I have owned my 2011 Ford F-150 since 2014. My wife Marlene's 2016 Honda CR-V gets the same treatment in our driveway outside Fresno. If you do your own work, you already know the feeling: a wheel that was torqued by feel, or by a pneumatic gun set too high, will fight you the next time you need it off.
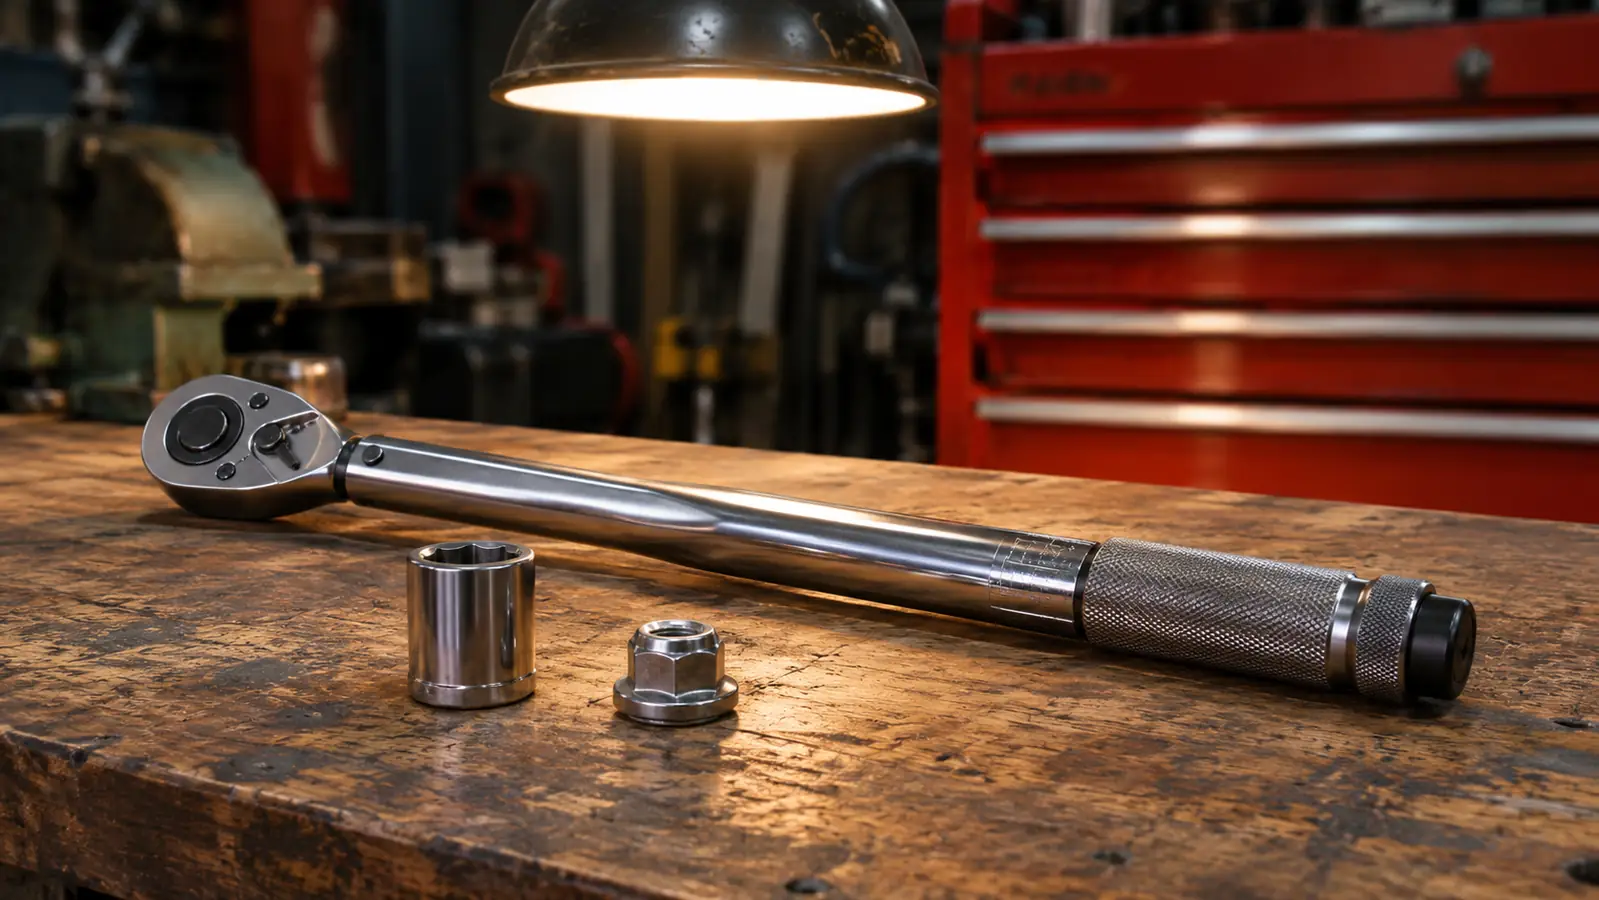
That is why I keep a GEARWRENCH 1/2 Drive Electronic Torque Wrench, model 85077, in my rolling tool chest. I have owned it about three years. It is the tool I reach for on lug nuts, caliper bracket bolts, and spark plugs. It is not the cheapest way to torque a wheel, and it is not the only way that works. But it is the way that keeps me from guessing. Here is the exact routine I use, step by step, so you can skip the part where you learn by making a mistake.
Stop guessing and start torquing to spec
The GEARWRENCH 85077 gives you a vibrating handle, a buzzer, and an LED light as you approach target torque, so you know when to stop without staring at a dial. Check today's price on Amazon before you start your next wheel job.
Amazon Check Today's Price on Amazon →Step 1: Set the target torque before you put the socket on the wrench
Every vehicle has a spec. My F-150 wants its lug nuts at 150 ft-lb. Marlene's CR-V wants 80 ft-lb. Do not trust your memory and do not trust the guy at the parts counter. Look it up in the owner's manual, or find the sticker on the door jamb, and write the number on a piece of masking tape if you have to. The GEARWRENCH 85077 reads out in Nm, ft-lb, in-lb, Kgf-m, and Kgf-cm, so whatever unit your manual uses, the wrench can show it.
The wrench needs two AA batteries, which do not come in the box. I keep a spare set in the tool chest because the last thing you want is a dead wrench halfway through a brake job. Once the batteries are in, set the target to your vehicle's spec. The display is straightforward, and the buttons are where you expect them to be. If you are used to a click-type wrench, this is the one part that takes a minute to get comfortable with, because you are telling the tool what to do instead of dialing a number on a handle.
One thing I will say plainly: read the manual once. I know nobody reads the manual. Read it anyway. The GEARWRENCH has a 72-tooth ratchet with a 5 degree swing arc, which matters in tight spots, and it is a flex-head design, so you can angle the head where a straight wrench will not fit. Those are features you want to know about before you need them, not after you are lying on your back under the truck.
Step 2: Break the lug nuts loose before you lift the vehicle
Do not use the torque wrench to break lug nuts loose. That is not what it is for, and you will knock the calibration out of it. I use a four-way lug wrench or a breaker bar while the wheel is still on the ground and the vehicle is still sitting on its own weight. That way the tire cannot spin on me, and I am not fighting the parking brake.
Loosen each lug nut about a half turn, just enough to break it free. Leave them snug. You want the wheel held in place while you lift the vehicle. If you take them all the way off while the truck is still on the ground, the wheel can shift and bind against the studs, and then you get to wrestle it.
This is also the moment to check your equipment. My ARCAN 3-ton aluminum low-profile floor jack lives in the garage for a reason. It has a 3.75 inch minimum height, so it slides under Marlene's CR-V without any drama, and it lifts to 18 inches. But the jack only lifts. I always set jack stands before I get under any vehicle, and I want you to do the same. A floor jack is not a place to park a truck while you work.
Step 3: Lift, support, and pull the wheel
Raise the vehicle until the tire clears the ground, then set your jack stands. I know it feels like an extra step. It is the step that keeps the truck from landing on you. Once the stands are set, lower the jack until the vehicle's weight is on the stands, give the vehicle a gentle push at the fender to make sure it is solid, and then finish removing the lug nuts.
Pull the wheel straight toward you. If it sticks, do not yank it. A couple of light kicks at the tire's sidewall, working around the circumference, will usually break the rust bond between the wheel and the hub. If it still will not come, put two lug nuts back on a couple of turns and rock the wheel by hand. That keeps the wheel from flying across the garage when it finally lets go.
Set the wheel aside with the outside face up so you do not scratch the face on the concrete. If you are doing a tire rotation, this is the time to check the tread and look at the brake pads while the wheel is off. Ten minutes of looking now beats a breakdown on the highway later.
Step 4: Clean the hub and the mounting face, then hand-start every lug nut
This is the step most people skip, and it is the step that causes more comebacks than anything else I see. Rust, dirt, and old anti-seize on the hub or the back of the wheel will give you a false torque reading. You can set the wrench to the exact spec, and it will click or buzz right on time, but if there is crud between the wheel and the hub, the actual clamping force on the stud is lower than the number on the screen. I wipe the hub face and the back of the wheel with a rag and a wire brush if needed.
Hand-start every lug nut. Spin each one on with your fingers until it seats, then snug them in a star pattern with the wrench, but do not torque them yet. The reason is simple: if you run one lug nut all the way down before the others are started, the wheel can sit crooked on the hub, and you will be torquing a tilted wheel. The star pattern pulls the wheel down evenly.
The GEARWRENCH 85077 is rated for 30 to 340 Nm. For my F-150 at 150 ft-lb, that is well inside its working range. For Marlene's CR-V at 80 ft-lb, it is also inside the range, but just barely above the low end. The accuracy spec is plus or minus 2 percent clockwise and plus or minus 3 percent counterclockwise between 20 and 100 percent of the wrench's capability. I torque clockwise, the way the tool is most accurate, and I do not use it below that 20 percent floor.
Step 5: Torque in a star pattern, then do a second pass
Set the GEARWRENCH to the vehicle's spec and work in a star pattern: top, bottom, left, right, then the corners in between. On a five-lug wheel, that means you go around the pattern twice to hit all five. On a six-lug wheel, you go around once. The idea is to pull the wheel down evenly, the same way you would tighten a cylinder head.
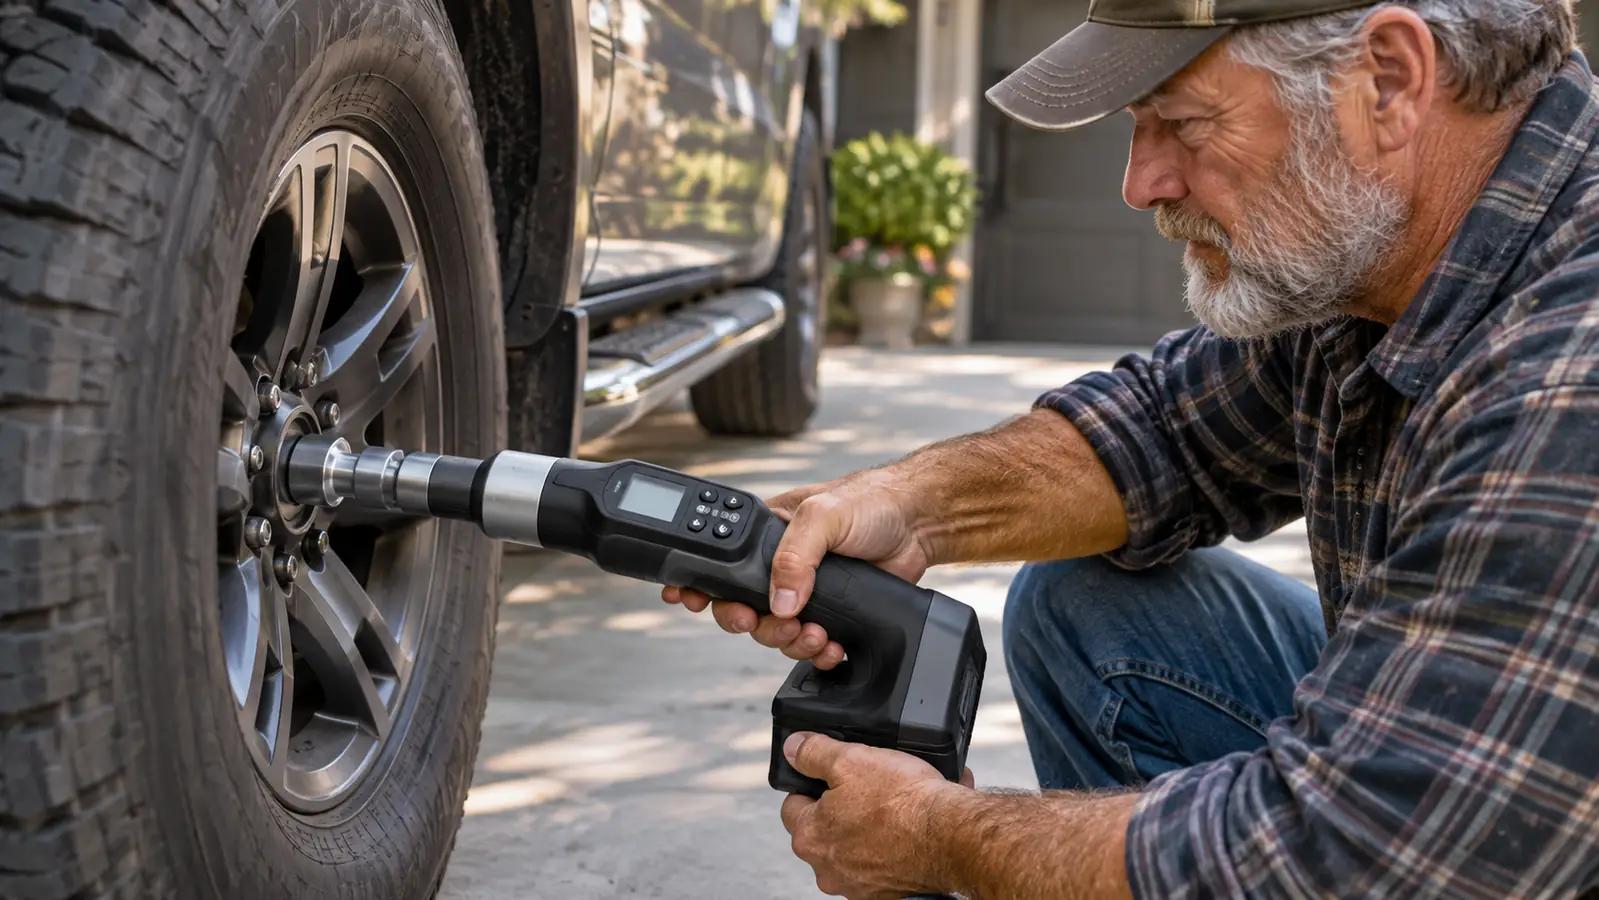
Here is where the electronic wrench earns its keep. As you approach the target torque, the handle vibrates, a buzzer sounds, and a solid LED light comes on. You do not have to watch the display or listen for a click. You feel it in your hand. That matters when you are lying on your back in a driveway with the shop light behind you and the display is hard to read. The tool tells you when to stop.
When every lug nut has reached the target, go around the star pattern one more time. The first pass can leave a little tension in the wheel, and the second pass catches it. I have seen guys skip the second pass and then wonder why a wheel came loose on the highway. It is a two-minute step that costs you nothing.
What Else Helps
A torque wrench is only one part of a good wheel job. I keep a DEWALT 108-piece mechanics tool and socket set in the truck behind the seat for roadside work, and it lives in the garage when I am home. A good six-point socket that fits the lug nut snugly matters more than most people think. A worn or rounded socket will slip, and a slipping socket will round off a lug nut faster than you can say it.
I also keep a torque wrench calibration in mind. The GEARWRENCH warranty covers calibration accuracy for 90 days, and the tool carries a 1 year limited warranty. If you drop the wrench or use it as a breaker bar, the calibration can drift. I treat mine with respect, I store it in the case with the setting released, and I have not had a problem in three years. If you buy a used one, or you are not sure of its history, it is worth having it checked.
One more thing: never use the torque wrench to remove lug nuts. I said it in Step 2 and I will say it again, because it is the single most common way I see these tools get ruined. The GEARWRENCH is a precision instrument, not a breaker bar. Use the right tool for the job and it will last you a long time.
The handle vibrates, the buzzer sounds, and the LED comes on. You feel it in your hand, so you do not have to stare at a display while you are lying on your back in the driveway.
Where the GEARWRENCH Falls Short
I am not going to tell you this wrench is perfect, because it is not. The two AA batteries are not included, and the wrench will not do anything until you put them in. That is a small thing, but it is the kind of small thing that bites you at 8 o'clock on a Saturday morning when the store is twenty minutes away.
The display is also not the easiest to read in direct sunlight. I do most of my work in the garage or in the shade of the truck, so it has not been a problem for me, but if you work out in the open on a sunny day, you will find yourself shading the screen with your free hand. And the 3 pound weight is noticeable on a long job. It is not heavy, but it is heavier than a click-type wrench, and you will feel it after a few dozen fasteners.
The bigger limitation is the low end of its range. At 30 to 340 Nm, this is a 1/2 inch drive wrench built for bigger work. If you do a lot of small fasteners in the 10 to 20 ft-lb range, you will want a separate 3/8 inch drive wrench. For lug nuts, caliper brackets, and suspension bolts, the GEARWRENCH is right at home.
Who This Is For
This wrench is for the home mechanic who has torqued one too many lug nuts by feel and wants to stop guessing. It is for the guy who does his own brakes, his own suspension, and his own tire rotations, and who wants a tool that tells him when he is there instead of making him listen for a click. It is for anyone who has ever had a wheel fight them on the side of the road because the last person who touched it used a pneumatic gun set to maximum.
It is also for the person who works alone. The vibrating handle and the buzzer mean you do not need a second pair of eyes on the display. You can be under the truck, on your back, with the wrench at an awkward angle, and you will still know the exact moment you hit the target. That is a real advantage over a click-type wrench, which you have to feel click, and which you cannot feel at all if your hand is in the wrong spot.
Who Should Skip It
If you only change a wheel once a year, and you are happy with a cross wrench and a prayer, this wrench is more tool than you need. A basic click-type torque wrench will do the job for less money, and it does not need batteries. There is nothing wrong with that. The GEARWRENCH is a better tool for the person who works on vehicles regularly and wants the feedback without having to watch a dial.
If you mostly work on small fasteners, or if you are shopping for your first torque wrench and you are not sure you will use it, start with something cheaper and simpler. You can always add an electronic wrench later. But if you are the person I described above, the one who does their own work and wants to know the lug nuts are right, the GEARWRENCH 85077 is a tool you will reach for every time.
Torque it once, torque it right
The GEARWRENCH 1/2 Drive Electronic Torque Wrench (85077) has a 72-tooth ratchet, a flex head, and a target torque alert that buzzes, vibrates, and lights up when you hit the number. Check today's price on Amazon and put an end to guessing.
Amazon Check Today's Price on Amazon →